
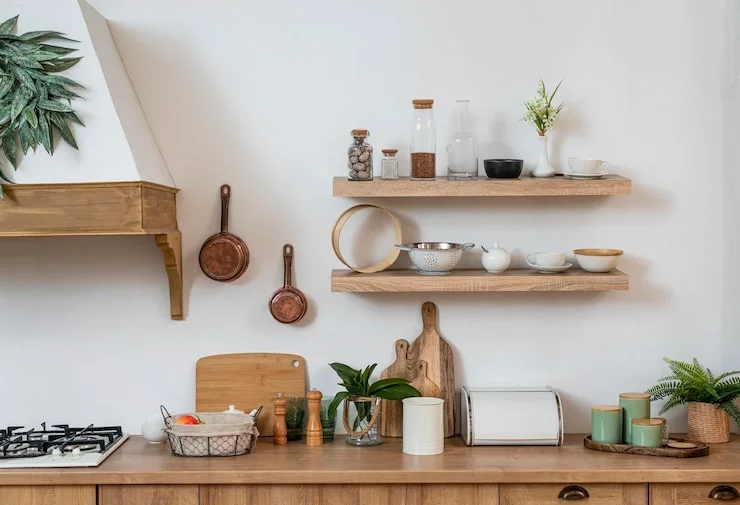
Open kitchen shelves can make a small space feel bigger and a plain wall feel full of life. But when you first stare at those empty shelves, it is easy to freeze up. You might wonder where to put things, how many items to use, or whether your everyday dishes will look good enough to leave out in the open.
The good news is that shelf styling does not require special training or a big budget. It comes down to a few simple rules about balance, color, and using what you already own. This guide walks you through those rules step by step. By the end, you will know exactly how to arrange your kitchen shelves in a way that looks put together but still works for daily cooking and kitchen shelf styling ideas for beginners.
Why Open Shelves Feel Hard at First?
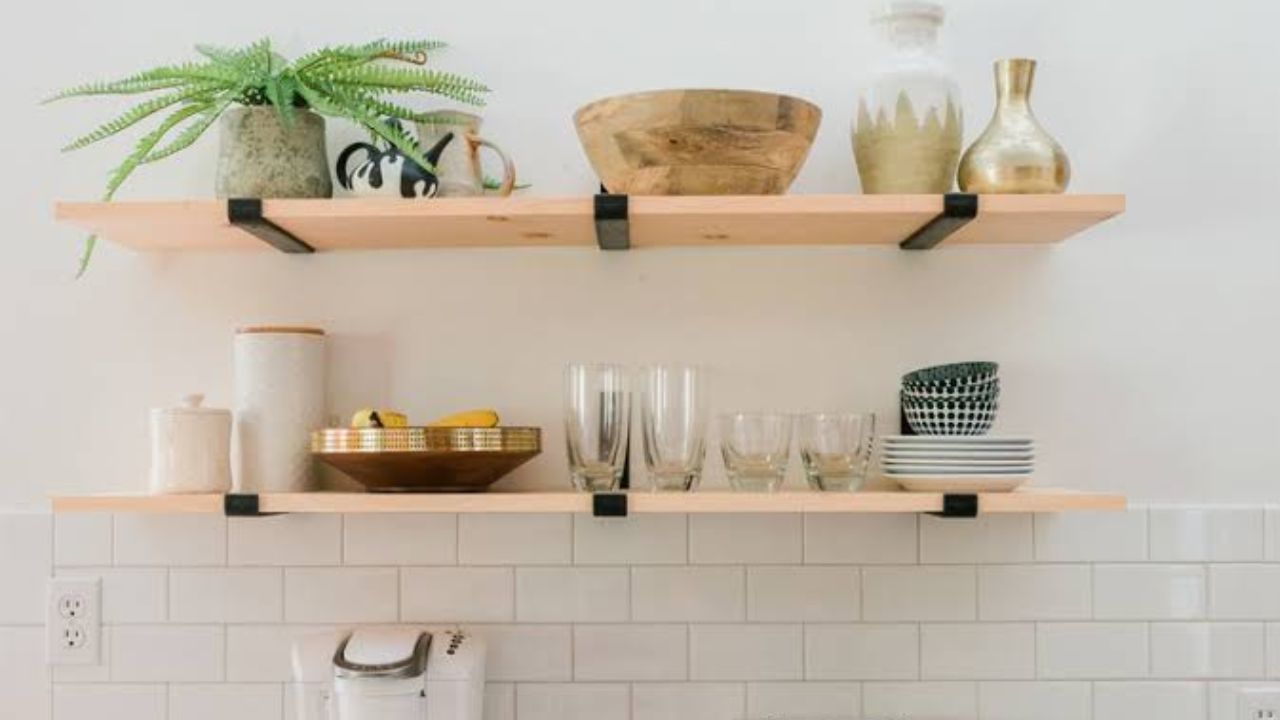
Open shelving is a popular choice in kitchen design, but it comes with a challenge. Everything you put on those shelves is visible all the time. Unlike a closed cabinet, there is nowhere to hide clutter or mismatched items.
That visibility is both the appeal and the problem. When styled well, open shelves show off the things you love and make your kitchen feel personal. When styled poorly, they can look messy and make the whole room feel disorganized. One writer who lived with open shelves for two years said she constantly felt aware of object heights, color groupings, and positions in a way she did not care about anywhere else in her home.
The solution is not to avoid open shelves. It is to learn a few basic rules that take the guesswork out of arranging them. Once you understand those rules, styling becomes quick and even fun.
Read Also: Kitchen Pantry Organization Ideas For Small Spaces
Start With a Clean, Empty Shelf
Before you place a single item, take everything off the shelf and wipe it down. This might sound obvious, but starting with a clean base makes a real difference. Dust, grease, and sticky spots from cooking will only get worse if you pile dishes on top of them.
If your shelves are new or you are planning to install them, think about the material. Solid wood shelves add warmth and work with many kitchen styles. They also provide a sturdy base for heavier items like stacks of plates or mixing bowls. Whatever material you choose, make sure it can handle the weight of what you plan to display.
Pick Two or Three Colors and Stick to Them
One of the fastest ways to make shelves look messy is to use too many colors. When every item is a different shade, the eye has no place to rest. The fix is simple: choose two or three main colors and repeat them across the shelves.
Neutral tones work especially well for beginners. White, light wood, and soft gray or green create a calm foundation. If you have colorful dishes, you do not have to hide them. Just space them out evenly and use plain white or clear glass items in between to balance the look. Ina Garten, who is known for her practical approach to cooking and home style, recommends choosing a small color palette as one of her core shelf styling rules.
Put Heavy Things on the Bottom
Weight matters more than most beginners realize. Large mixing bowls, stacks of dinner plates, and heavy wooden cutting boards should go on the bottom shelf. Lighter items like wine glasses, small jars, and delicate decor pieces belong on the top.
This rule serves two purposes. First, it keeps the shelves stable. A heavy bowl on a high shelf is a safety risk. Second, it makes the arrangement look grounded. The visual weight sits at the bottom, which feels natural and balanced to the eye.
Group Items in Threes, Not in Straight Lines
Lining up items in a single row looks stiff and flat. A better approach is to group things in small clusters. Odd numbers, especially three, tend to look more natural than even numbers.
Within each group, vary the height. A tall vase next to a short bowl next to a medium jar creates visual interest. Grouping similar items together, like three matching mugs or a stack of bowls with a small plant beside them, also works well. The goal is to create small moments of interest rather than one long uniform line.
Layer From Back to Front
Depth is what separates a shelf that looks styled from one that looks like a storage rack. To create depth, place taller or flatter items toward the back and shorter items in front of them.
A common trick is to lean a cutting board, a platter, or even a small framed picture against the back wall. Then place a bowl or jar just in front of it. This creates a layered effect that makes the shelf feel full without being crowded. Ina Garten uses this exact method with a beautiful plate or platter leaning against the back wall to add height to her arrangements.
Mix Useful Items With a Few Pretty Pieces
Your kitchen shelves still need to function. If every item is purely decorative, the shelves become useless for daily life. If every item is purely practical, they look like a storage closet.
The balance most designers recommend is to use most of the space for items you actually use, then add a few pieces that are just for looks. Everyday glasses, plates, and bowls form the backbone. Then you layer in a favorite cookbook, a small plant, a pretty ceramic jug, or a framed photo. Ina Garten has said she loves working in a kitchen with beautiful things but hates anything that is purely decorative. Her shelves hold silver serving trays and cake stands because those are items she actually uses when hosting, not just dust collectors.
Use Glass Jars for Dry Goods
Packaging creates visual noise. Boxes of pasta, bags of rice, and plastic containers of oats all have different colors, logos, and shapes that fight for attention. The simple fix is to pour dry goods into clear glass jars or containers.
This does two things. It keeps your ingredients fresh and easy to see. It also makes your shelves look clean and intentional. Rows of matching glass jars with grains, pasta, and coffee create a calm, organized appearance that no pile of cardboard boxes can match.
Leave Empty Space on Purpose
The biggest mistake beginners make is filling every single spot. Empty space is not wasted space. It gives the eye a place to rest and makes the items you do display feel more important.
Interior designers often say that styling is more about what you leave off than what you put on. If your shelves start to feel busy or cluttered, the fix is almost always to remove something, not add something. Take away the smallest filler pieces first. Too many tiny objects competing for attention create kitchen shelf styling ideas for beginners.
A good test is to step back and look at the shelf from across the room. If your eye does not know where to look first, you have probably gone too far.
Mix Old and New Pieces
Shelves that look like they came from a single shopping trip feel flat and impersonal. The most interesting arrangements mix old and new items together.
A vintage plate next to a modern mug. A wooden board you found at a flea market beside a new glass jar. Your grandmother’s serving platter leaning against the back with a new cookbook in front of it. This mix of old and new gives shelves a collected, lived-in feel that cannot be bought in one afternoon.
Ina Garten calls this rule “mix old and new,” and it is one of her five core tips for styling kitchen shelves.
Add Something Green
A small plant or a vase of dried flowers softens a kitchen instantly. Green brings life into a space that might otherwise be full of hard surfaces like wood, glass, and ceramic.
A small potted plant on the top shelf works well. So does a pot of fresh herbs near your cooking area. If your kitchen does not get much natural light, a vase with dried flowers or greenery gives the same effect without needing sun.
Think About What You Will Actually Clean
This is the part most styling guides skip. Open shelves collect dust and grease, especially if they are near the stove. One writer who had open shelves next to her hob said her glassware was constantly covered in a layer of grime and had to be washed before every use.
The practical solution is to display items you use and wash often. If you rotate through your plates and glasses regularly, they stay cleaner naturally. For items you use less often, be prepared to dust them weekly. A quick wipe-down goes a long way, and keeping shelves slightly away from the cooking zone helps a lot.
A Simple Starting Formula
If all these tips feel like a lot to remember, here is a simple formula to get you started.
- Bottom shelf: Heavy, everyday items. Stacks of plates, large bowls, cutting boards.
- Middle shelf: Everyday glasses and mugs, grouped in threes. A glass jar or two with dry goods.
- Top shelf: Lighter items. A small plant, a cookbook, one or two decorative pieces.
- Throughout: Stick to two or three colors. Leave space between groups. Layer taller items behind shorter ones.
This formula is not a rule you have to follow forever. It is a starting point. Once you see how the shelves look and live with them for a few days, you will start to notice what works and what does not. Adjust from there.
You May Also Like: Conceal Dryer Vent Above Kitchen Along Top Of Cabinets
Common Beginner Mistakes to Avoid
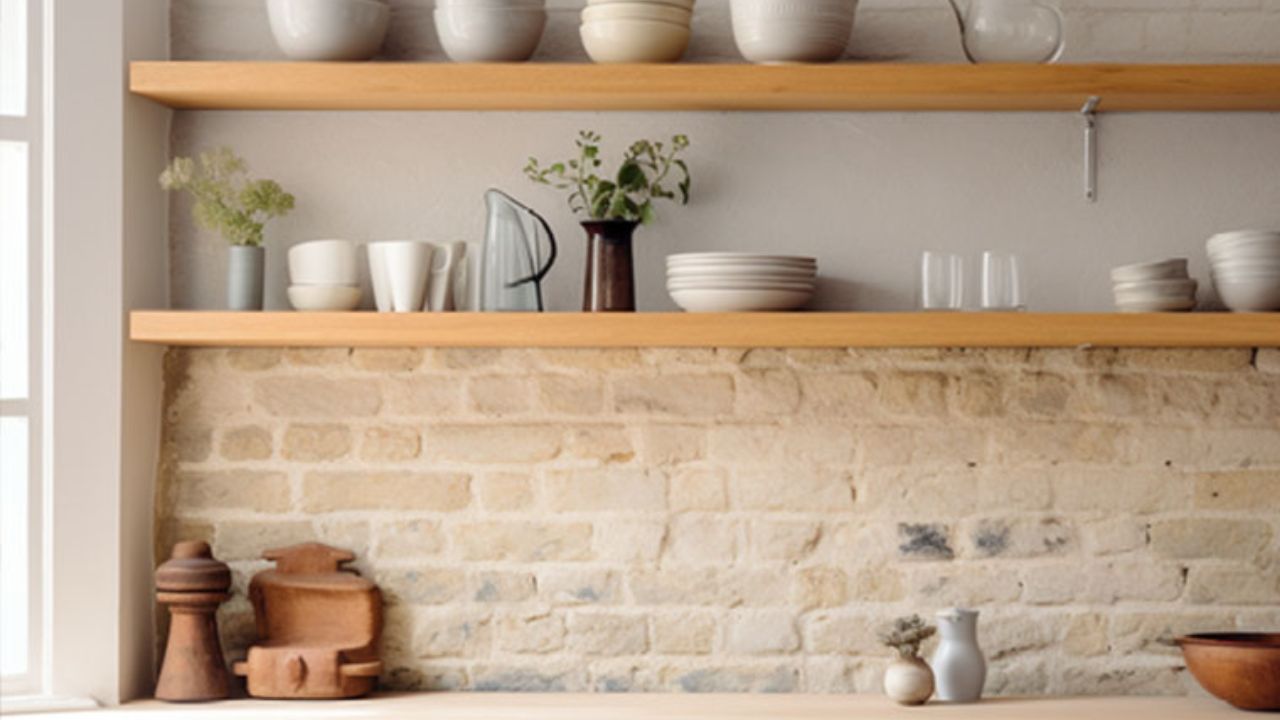
- Filling every inch. Empty space is your friend. If it looks crowded, take something away.
- Using too many colors. Two or three shades create a calm look. More than that creates chaos.
- Putting everything in a straight line. Groups of three at varying heights look natural. Single rows look stiff.
- Forgetting about function. If you cannot reach your everyday plates, the shelves are not working for you. Put the things you use most where they are easiest to grab.
- Ignoring maintenance. Open shelves need regular dusting. If you are not willing to do that, closed cabinets might be a better choice for your lifestyle.
Frequently Asked Questions
How many items should go on each shelf?
There is no exact number, but as a general guide, aim for three to five items per shelf, arranged in one or two small groups. This gives enough visual interest without feeling crowded.
Should I put my everyday dishes on open shelves?
Yes, if you like how they look. Everyday items that you use and wash often stay cleaner and make the shelves practical. If your everyday dishes are mismatched or you do not like seeing them, you might prefer to display prettier items and keep the everyday dishes in a cabinet.
What if my shelves are near the stove?
Shelves near the stove will collect grease faster. Consider keeping that area for items you use constantly, like cooking utensils or frequently used spices, so they get washed or wiped regularly. Or place decorative items on shelves farther from the cooking zone.
How do I stop my shelves from looking cluttered?
Start by removing the smallest filler pieces. Replace several tiny objects with one larger piece. Leave more empty space between groups. Step back and look from across the room. If your eye does not know where to look first, keep editing.
Can I style shelves if I rent my home?
Yes. Floating shelves with removable anchors or leaning shelf units do not require permanent drilling. You can get the same look without damaging the walls.
Final Thoughts
Kitchen shelf styling is not about buying the perfect items or copying a photo from a magazine. It is about learning a few simple principles and then using what you already have. Stick to a small color palette. Group items in threes. Layer from back to front. Leave empty space. Mix old and new. Display things you actually use.
Start with one shelf. Arrange it, step back, and adjust. You will make mistakes, and that is fine. Every shelf gets better with a little practice. The goal is not perfection. The goal is a kitchen that feels warm, organized, and like you.